Infinity Tactics: Taking Sides
Often referred to as the third player, deployment is one of the most difficult aspects of Infinity, and also one of the most important. The table can influence the game a great deal, and you need to be aware of the environment your'e playing in, so today I've decided to write about what I consider while preparing for a game of Infinity. Where are the Objectives? What is my ARO Defense going to look like? What is the enemy hiding from me? If I'm using a sectorial, how can I best utilize the deployment of my fireteam?
Objective Placement
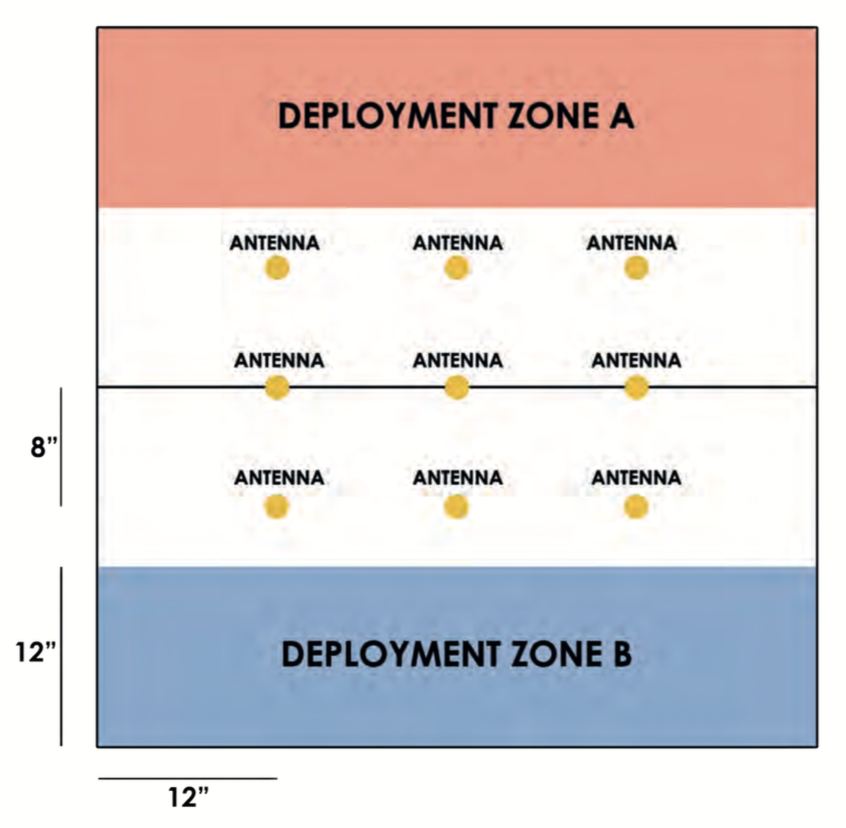
The very first thing I look at when I'm examining a table is the placement of Objectives. At the end of the day, my goal is to win the game, so understanding the circumstances which I'm under to accomplish the mission is critical. The first thing I want to know is, are the objectives terrain or not, and if so, what silhouette are they? The Rules say that token objectives are not terrain, but this is something you can quickly be surprised by if you don't discuss it with your opponent beforehand. Being able to use the objective itself as protection from enemy fire is incredibly helpful, especially fir infiltrating units. For that matter, which objectives can you advance to through cover? If one side of the board has clear LOF to objectives, and from the other side, they're protected, guess which side you want. Finally, what is the easiest path to advance through, ideally with cover, to get to objectives on the table?
If the scenario doesn't use objective markers, but does use scoring zones (like Quadrant Control or Frontline), make sure you get a good idea of which parts of the table are defensible, or that allow you to move up through.
Offense & Defense
After understanding how the table is going to affect the win-conditions of the game, you should next figure out how you can attack/defend various parts of the table. Long firing corridors are areas which you can use things like sniper rifles to keep the enemy at bay, while areas of packed terrain are going to need shorter-ranged weaponry to defend. When you're setting up pieces for ARO duty, you need to consider that they absolutely are meant to die, and that you want your opponent to waste as many turns as possible dealing with them. One of my favorite examples of a great ARO piece is the humble USAriadna Grunt Sniper. They only cost 18/0.5 points, and with ARM6 in cover, they can prove difficult to dislodge, and absolutely must be dealt with (Daylami with panzerfaust are also incredible for this). You may be tempted to put a unit with a MSV2 and Sniper Rifle out as an ARO piece, after all, it can prevent the enemy from using smoke to advance. Generally this is a good idea, but you should also consider how easy it is for your opponent to take out before it is relevant. If your opponent has a solid linked HMG set up across, and clearly within 32", that expensive MSV2 sniper is going to go down fast.
Defending yourself from warbands is a bit trickier. If there is an area of dense terrain where you suspect enemy warbands to come piling through, you absolutely have to do something to stop them, a single Kuang Shi in your deployment zone can wreak havoc. To keep yourself from getting chain rifled to pieces, you will probably have to sacrifice something. Tools like Crazy Koalas, Mad Traps, or mines (deployed from Minelayers) are ideal for this kind of duty, but not everyone has them, or if you don't go first, you won't have the opportunity to deploy them. Setting up a cheap model with direct template weapon is otherwise your best bet, and you want to do it in a position where they won't be able to move past you and sacrifice themselves to hit multiple of your models in the process. Use your own warbands to plug these gaps, Auxbots are also fantastic at this job. Infiltrators can slow the enemy down for sure, though are expensive and not something you'd like to sacrifice to stop a cheap warband, but definitely better to sacrifice than half of your fireteam. Failing to stop a Warband can be devastating, their entire role is to punish bad deployment... If you think a Daturazi in your backlines is bad, wait until you have a Dog Warrior back there.
Going back to what I said about Objective Placement, you will want to deploy units in positions to defend the objectives from your enemy. You don't necessarily need to start that on turn 1 though, particularly in missions which score at the end of the game, instead start off mindful of them, and prepare yourself to set up for ARO duty for the last turn.
On the offense of the coin, longer corridors are great for your long-range active-turn weapons to shine, such as an HMG, and like I mentioned, if your opponent has set up a B1 ARO piece covering a long corridor, that's the best time to blow it apart with a high-burst weapon. Crowded spaces are ideal for where you want your warband units to deploy. Be aware of what your opponent has set up for ARO duty and make sure that you have a solution to it. If you don't, your Impetuous troops are going to run out and get shot, and your other units are just going to get pinned into your deployment zone.
Infiltrators, Airborne Deployment, & Hidden Models
One of the great strengths of Infinity as a game, is the asymmetrical amount of information on the table, through the use of hidden models. It is easy to forget that your opponent may not be all that you see when you're deploying. Airborne Deployment troops can suddenly appear on the table, or walk in from a table edge, TO hidden models can appear from nowhere and take you apart, and even standard a Camouflage token may not be what you expected.
One of the most important ways to defend against Airborne Deployment is to set up units in positions where they can see the table edges. This will help prevent unexpected visitors from showing up and chewing through you from an unexpected quarter. You also need to be sure there aren't any vulnerable places in your lines that a S2 model can combat jump into safely, and this can be much more difficult to spot at first.
Infiltrators and Hidden Models can be a little more difficult to handle, but if you apply some logic, you can mitigate their effectiveness. By covering your objectives with ARO pieces above, even a hidden model is going to have to jump through some hoops to push a button. If you have easy access to Sensor and Sniffers, then you can also protect objectives by clearing out any hidden models in the area, forcing them to reveal on your terms, and not your opponent's.
If you think that a path of approach up the field is totally clear, it is good to be a bit cautious, there can always be a Swiss Guard waiting for you.
Fireteams
In sectorials, taking a fireteam is often a no-brainer, you get to set up a powerful active turn attacker, or a tough ARO road block, but you also need to pay attention to how the rest of the team is going to deploy. It is easy to think about where to put the hard hitting pieces, and then clump up the rest around corners. When you deploy your fireteams, make sure that you don't set them up in the perfect formation for an enemy warband or AD troop to come in and template them.
If you plan on moving your fireteam up the table, you have to think about how the whole team is going to move. Often times a path may seem like a good route, but you'll end up moving multiple models around a corner, only to have them all blown to smithereens by an enemy missile launcher. Because of template weapons, fireteams are often best left moving up areas with a lot of scatter terrain to protect the whole link as you move. Deploying a fireteam on multiple levels of terrain can also cause you a lot of problems, they will have a harder time keeping up, and will probably cause trigger a few more AROs from your opponent as well.
Setup for Success
As you can see, there is a lot to think about. Even if you don't apply all of these principles to your deployment strategy, being aware of this can help a lot. The most important thing to come away with is that you must consider deployment as an important part of the game if you want to play at a high level. A solid deployment will let you control the circumstances of the game, and while your opponent may have surprised in store for you, they should be planned for and mitigated whenever possible.


